Recently we had the immense pleasure of installing this wonderful handmade paper. Lovingly made by two sweet men in Langley, Washington. Their motto is, “If there is a harder way to do it, we’ll find it!” Each Cannon/Bullock sheet of paper is handcrafted even before the finish is added. These 20” x 30” sheets configure together in a way that is art for your wall. It is so rewarding to work, not only with adept designers but also manufacturers and makers that care so deeply about their product. This installation is a shining example of how all of these pieces come together.
Beginning process, the first installation of a handful of panels.
Below is a video of the finishing process for this handmade paper.
As far as wallcovering installations go, this is definitely a hands-on detailed project. It all begins with the layout. Below you can see photos of our mapping system which works very well in tandem with shading all panels. For each wall we made a map of where each piece would go and even before that process we hand picked the pieces for each wall. Making sure we liked the shading and being very vigilant that no two panels were too similar in coloring. This hand selection process leaves you with a very pleasing installation and makes the space sing.
Our map of one of the walls, being clear ahead of time helps the installation go smoothly.
Layout on the wall.
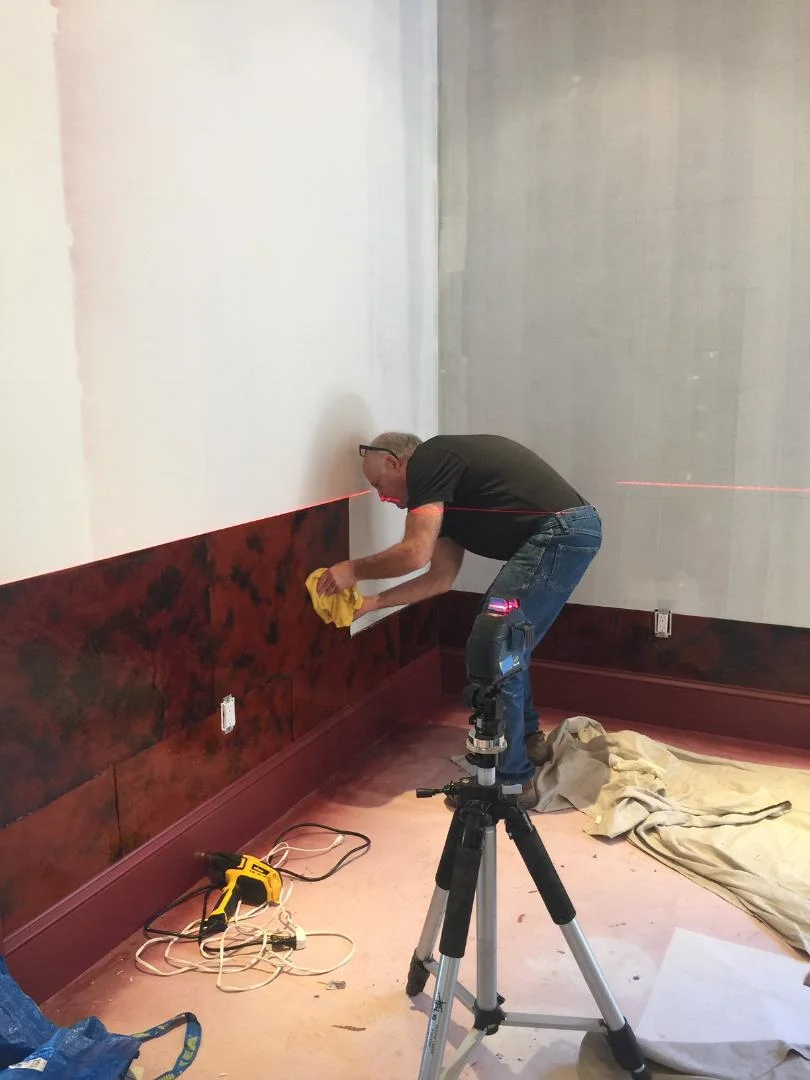
When it came time to install the panels we trimmed the top and right edge on the table to allow the overlaid panels to sit flat to the wall. The outside deckle edges were left untouched to preserve the handcrafted nature. As always we use our trusty laser to make sure every piece is plumb and perfect! Another facet to the installation involved lightly sanding the back in order to have the pieces adhere evenly and using a heat gun to bend the panels to wrap the outside corners.
Sanding the panels.
Lining up the panels using the laser.
Table trimming.
All finished!
Once installed we started in on all the little details that finish the space. The switch plates, which we normally wrap, were a tricky bit. We figured that we would cut the face and then use our magic markers to color off the edges to match. Additionally some of the panels lost their finish during the installation process, we had to tape down the panels during drying (to again make sure that they adhered to the wall very well). Below you can see after we added more pigment we went back in with clear nail varnish to bring the touched up spot back to its original luster. Scroll down to see the magic that ensued. Even though this installation was a bit daunting, with a little extra care and planning it made for the best possible outcome and a stunning dining room! We hope you enjoyed taking this journey with us.
Trimming the switch plate.
The magic of the marker, sometimes they are just the perfect tool!
The end result of the markers.
Using nail varnish to finish the touched up areas.


